
 |
||
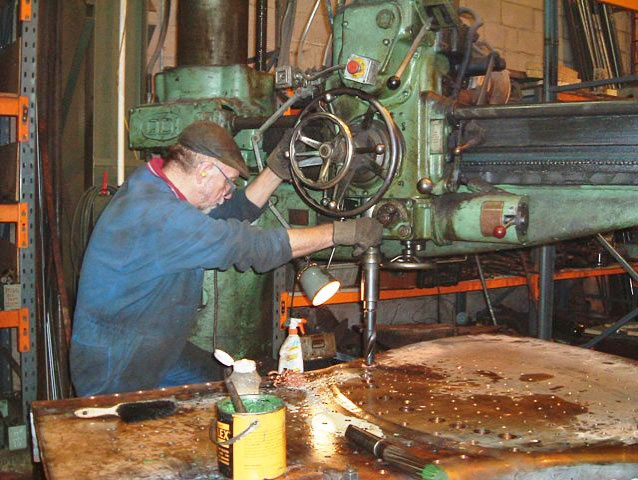
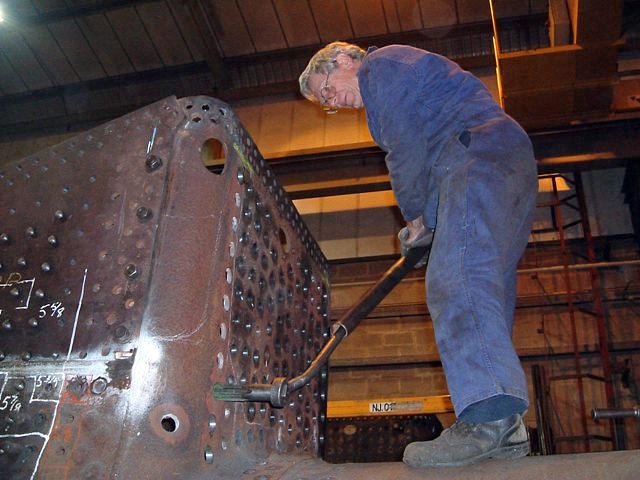
News News update Dec 2007Work over the last few weekends has concentrated on the throat plate namely fitting steel and copper stays.
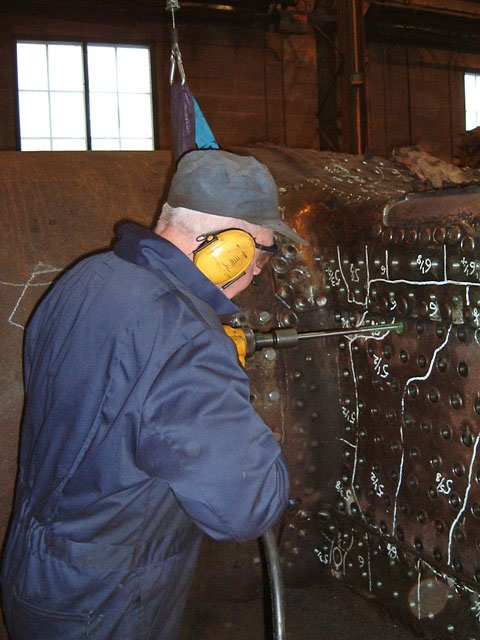
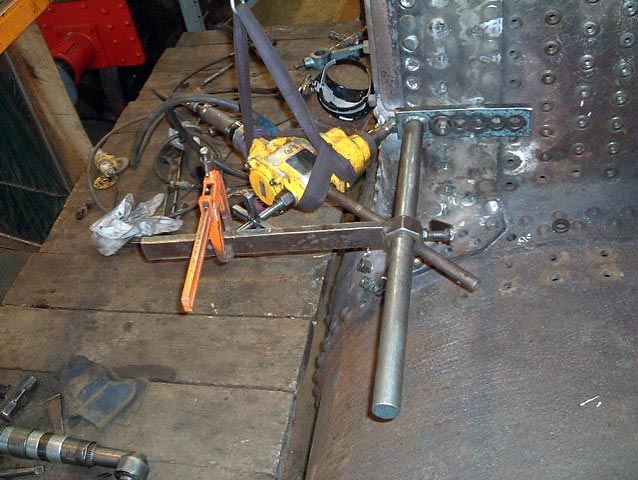
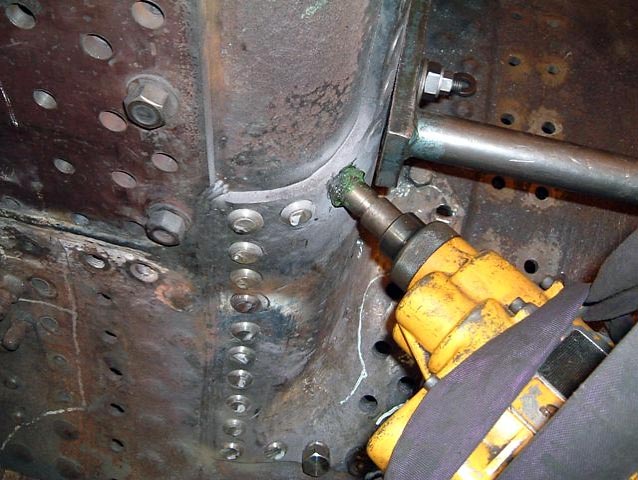
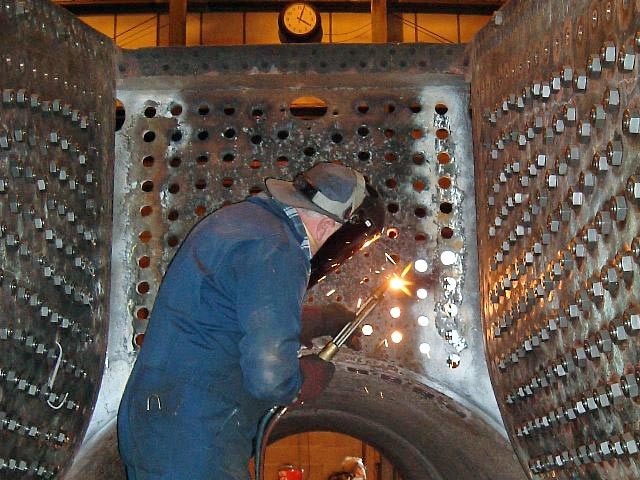
This view shows the throat plate being tapped.
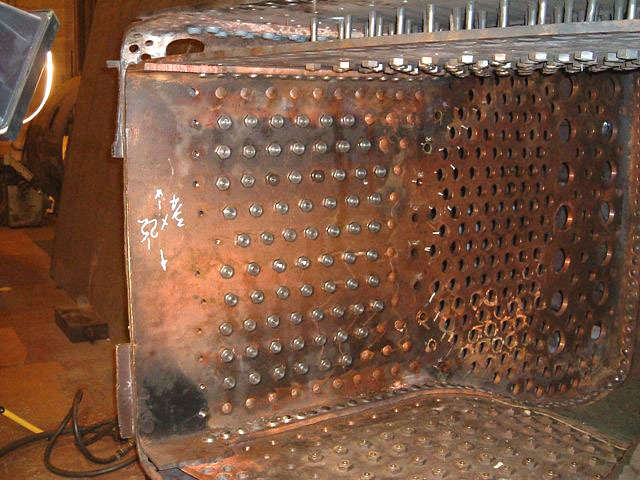
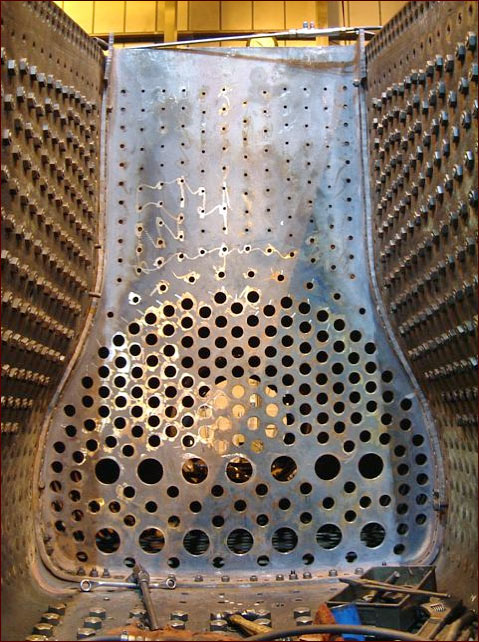
With all the holes tapped bar the bottom row, stays were fitted, 11/16” diameter steel and 7/8” diameter copper. The bottom row is omitted at this stage to facilitate fitting of the foundation ring. Note the view of the water space at the top of the picture with the new side stays clearly visible.
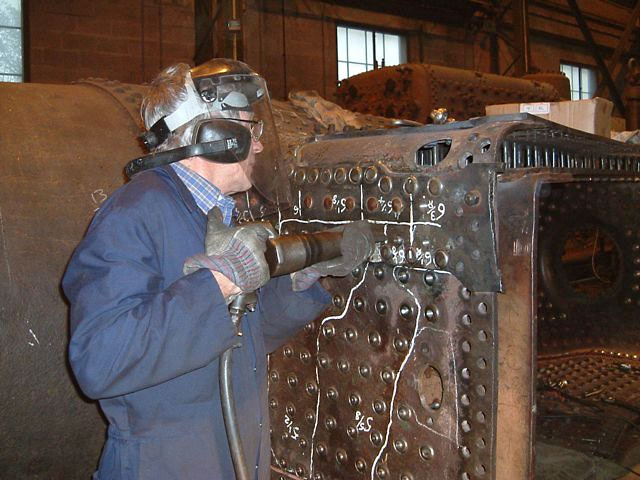
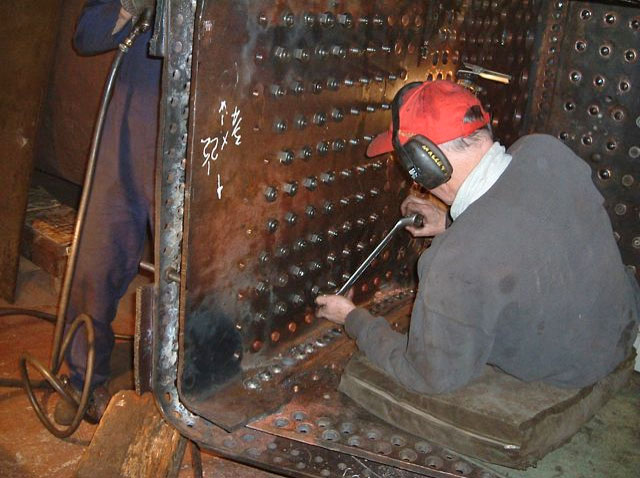
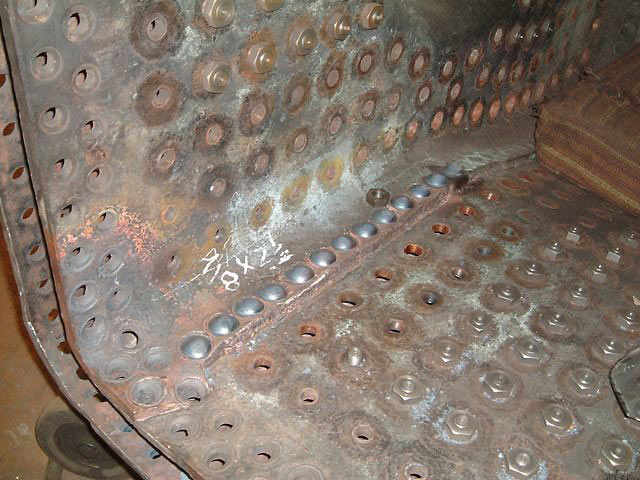
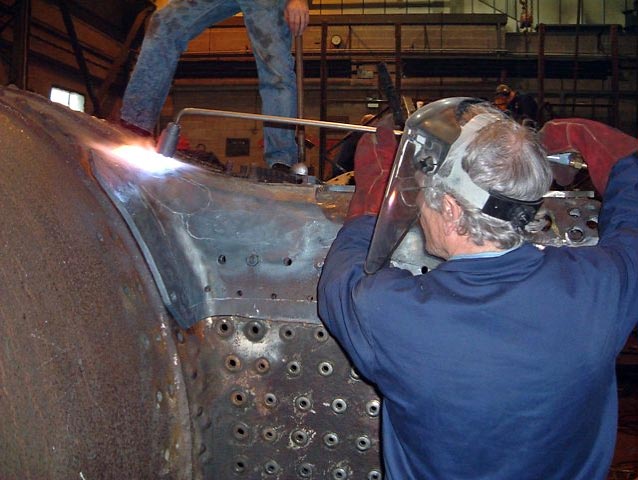
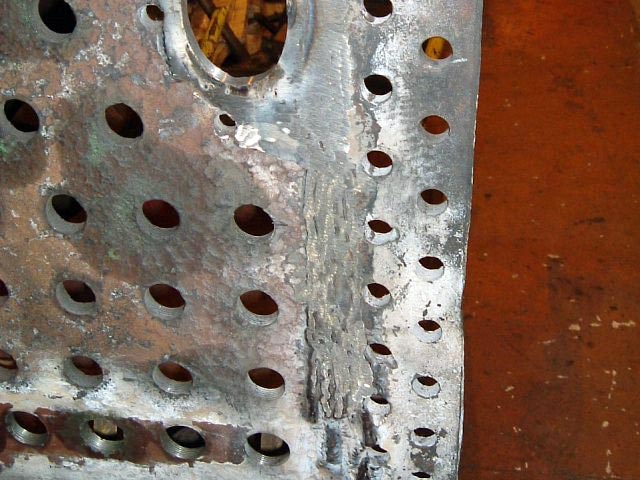
With the steel stays fitted and set to the correct position they were then caulked to make them steam tight. The copper stays have already been riveted over.
Fitting stay nuts onto the steel stays, the copper stays are riveted over.
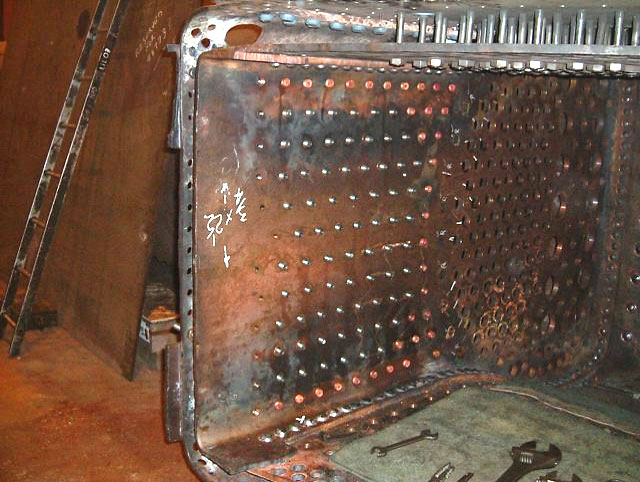
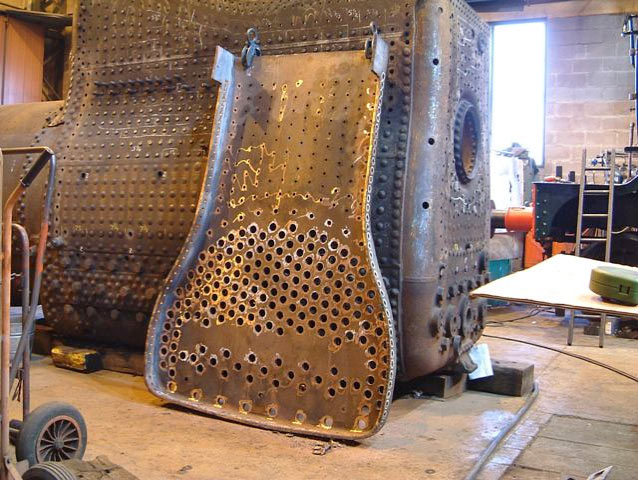
This view shows the completed job (apart from the bottom row which will be done once the foundation ring is fitted).
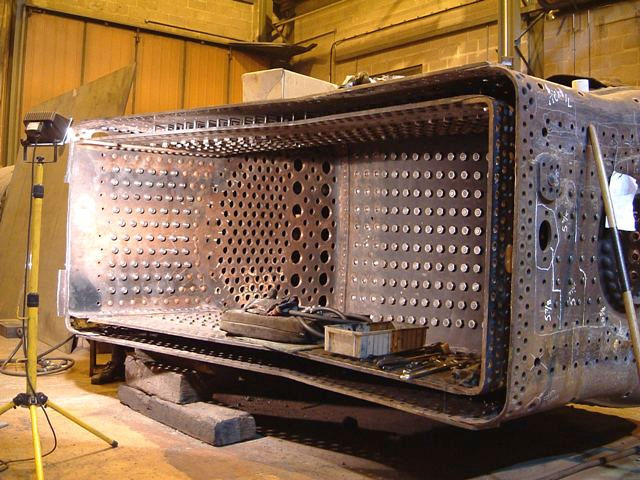
Overview of the firebox, door plate to the right with the fire hole just behind the broom handle and the new tube plate centre stage. News update Oct 2007Work on fitting the new tube plate has continued with a substantial amount of riveting being done by SVR full time staff. Riveting of the outer wrapper repair sections and on the door plate has also been done. Volunteer work has been concentrated on the throat plate and fitting the remainder of the crown stays.
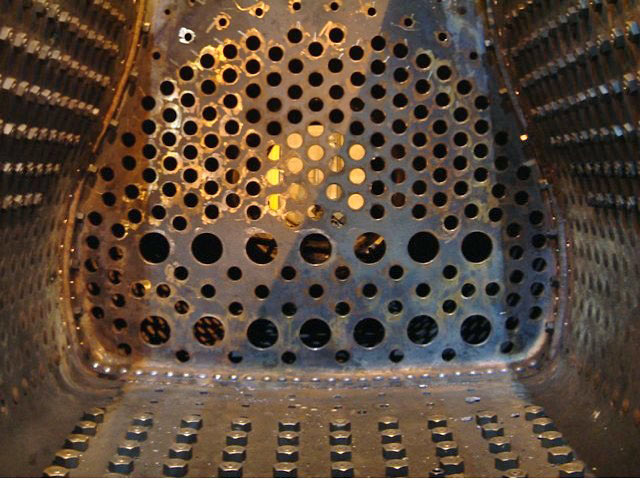
This view shows the new tube plate fully fitted and riveted across the crown. Note that the boiler is upside down to facilitate this operation.
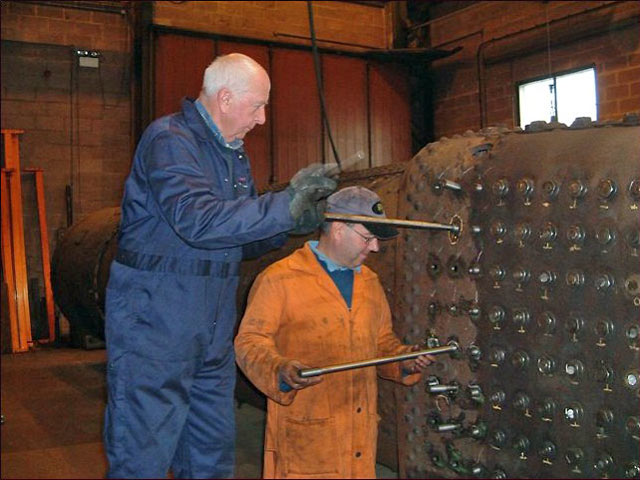
With the riveting above complete the boiler was turned onto its side to allow fitting of the remaining crown stays and further riveting work. The front three rows of crown stays totaling 30 in number were omitted to facilitate fitting of the tube plate. This view shows two of our engineering team fitting crown stays.
With the crown stays fitted and set to the correct position they were then caulked to make them steam tight.
With the boiler on its side further riveting has been done, this view shows new rivets on the door plate. This is where the flange has been repaired.
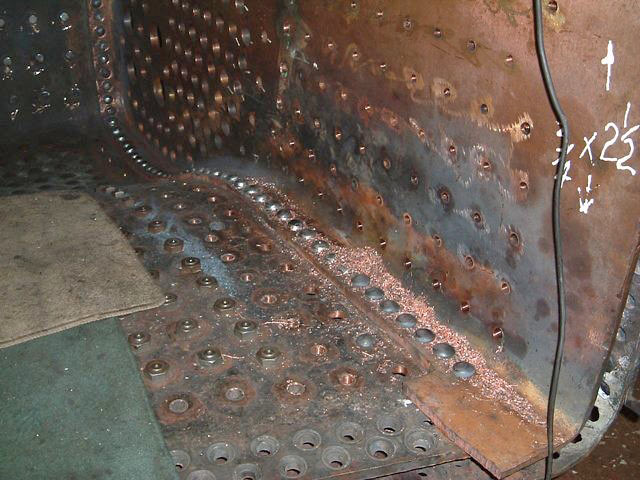
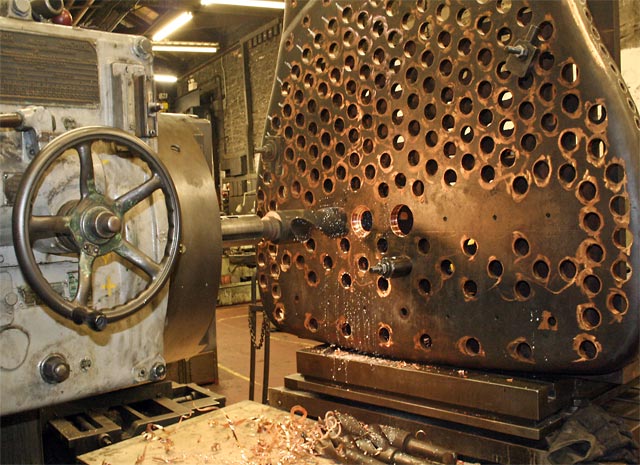
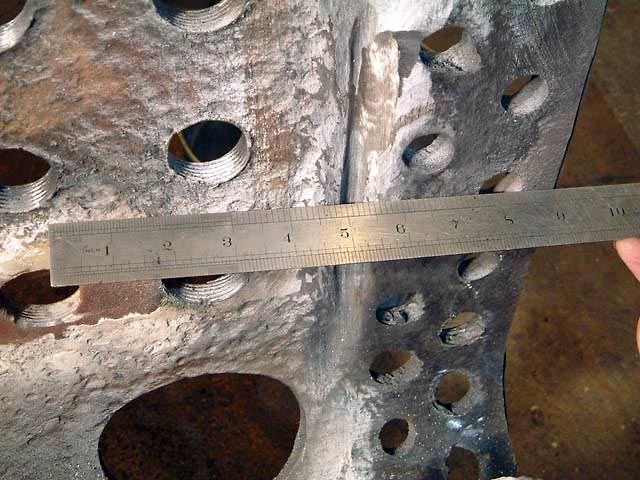
New tube plate rivets, the copper swarf is from reaming the throat plate stay holes.
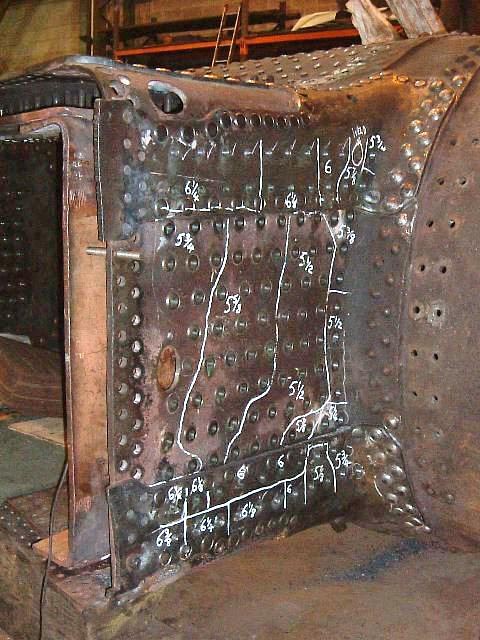
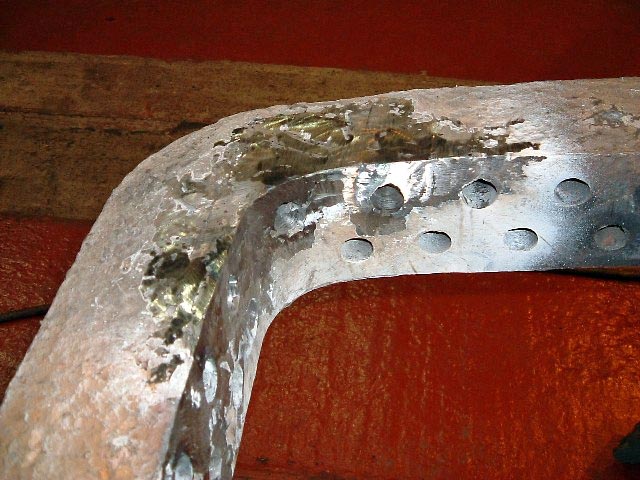
Throat plate upon completion of stay hole reaming. The numbers indicate the length of stay required. The holes on the boiler barrel to the right are for the palm stay brackets.
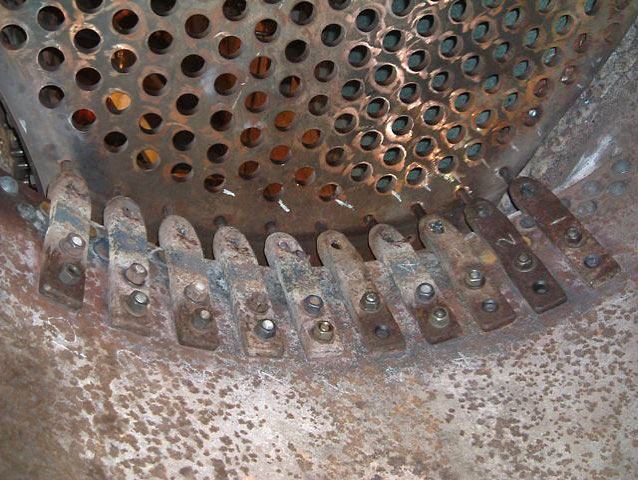
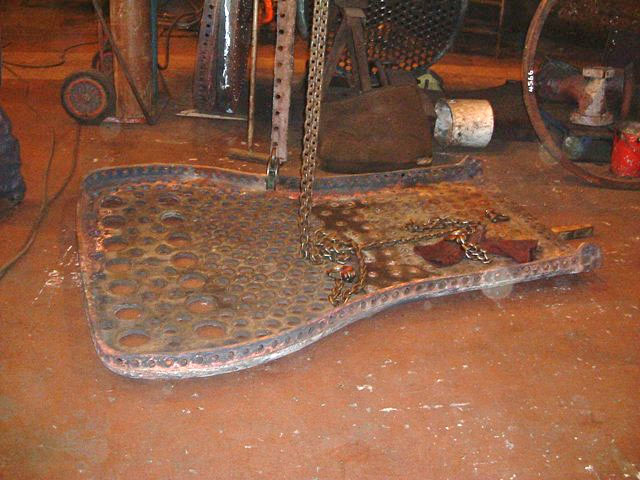
The palm stay brackets in place ready for riveting. News update Sept 2007New Tube Plate fitted to 2857 boiler. In parallel with other work previously featured we have been making a new copper tube plate for 2857. This was fitted last week and the following photographs illustrate some the work involved over the past few months.
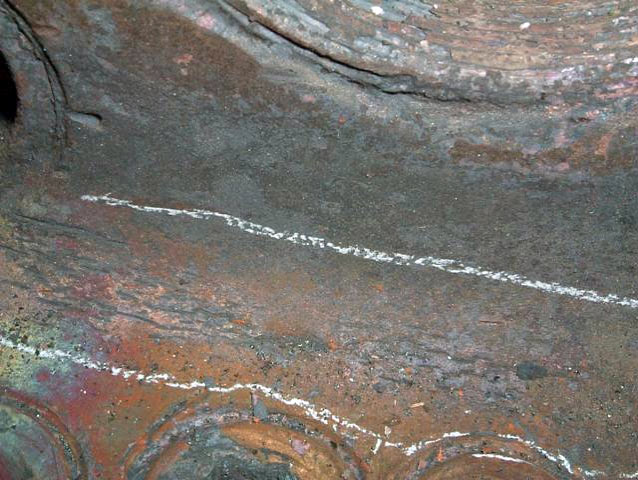
This view shows the old tube plate immediately after removal. Extensive cracking between the chalk lines.
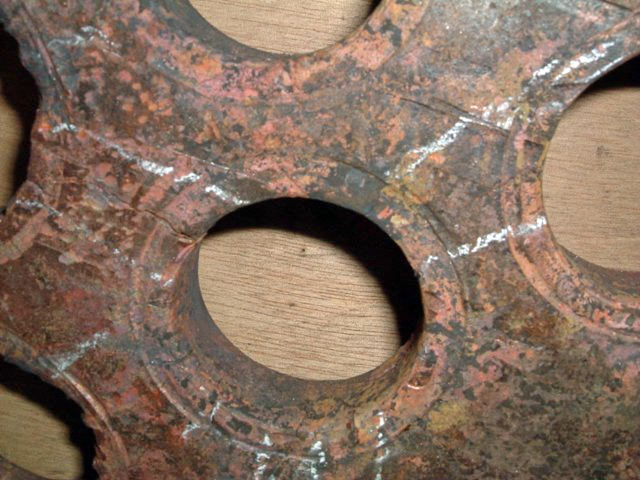
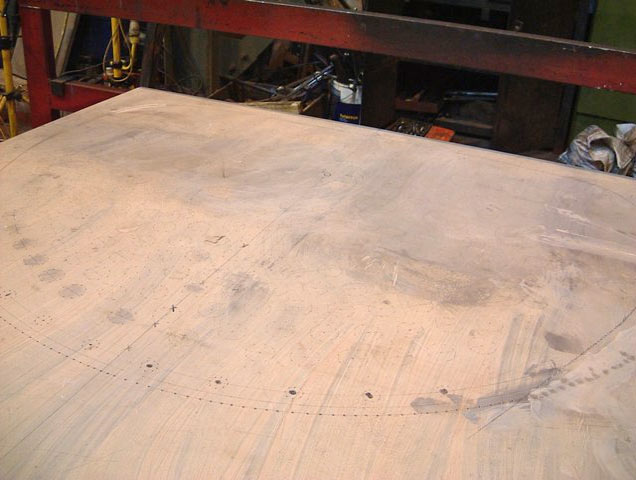
Further cracking around tube holes. The new sheet of copper with the tube hole positions marked out.
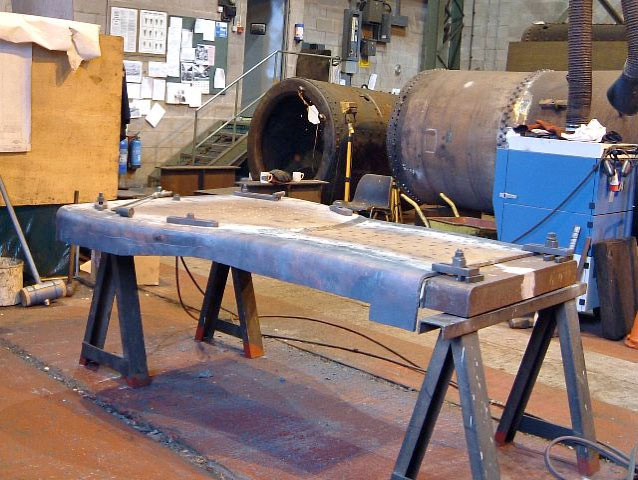
Drilling stay holes Part way through the flanging process, note the large hide mallet used to form the copper over the flanging block.
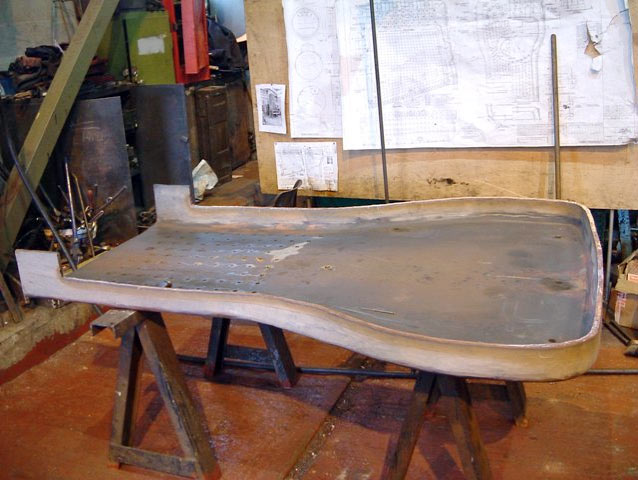
This view shows the completed just before the new plate was removed from the flanging block. Note the oxy-propane torch used to get the copper red hot. The completed plate after removal from the flanging block.
Drilling the tube holes.
Tube hole drilling complete.
Drilling the flue holes. These were later machined to final size.
The new tube plate in place with some fitting work to complete in the top corners (at the bottom of the photo as the boiler is upside down). News update July 2007Work on the throat plate has been progressing well.
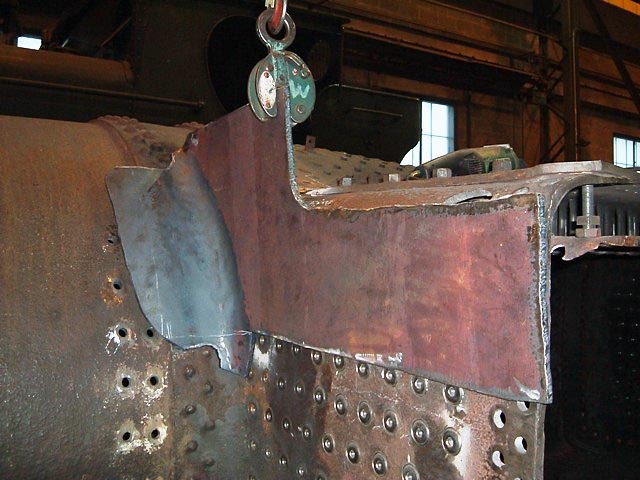
This view shows the right hand side of the throat plate (the boiler is on its side) with the outer row of patch screws fitted. The inner row of patch screws now fitted, leaving 1 in the corner to complete.
The second throat plate patch before forming.
After forming the first bend the patch is offered up to check the fit.
Drilling stay holes.
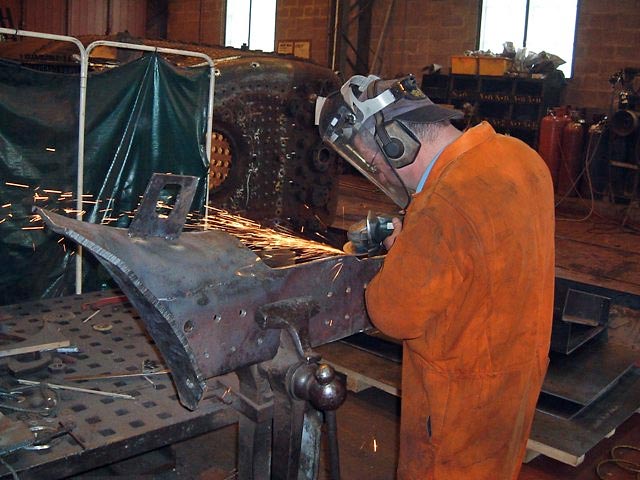
Grinding a clean edge to the patch, note the temporary lifting eye to aid handling. Fine tuning the fit, an area is heated with an oxy-propane torch.
And then modified.
With the patch closely fitted to the plate it has been fastened in place with a series of patch screws. The holes are marked out, drilled, and then as seen here countersunk.
Closer view of the countersinking tool.
The completed countersink
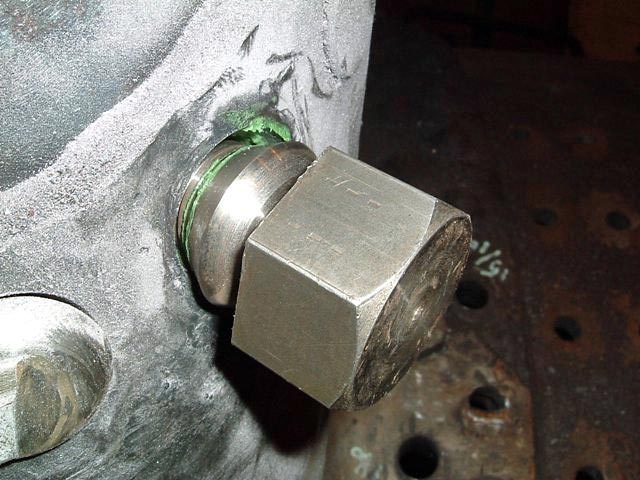
The hole is then reamed, tapped, and the patch screw fitted.
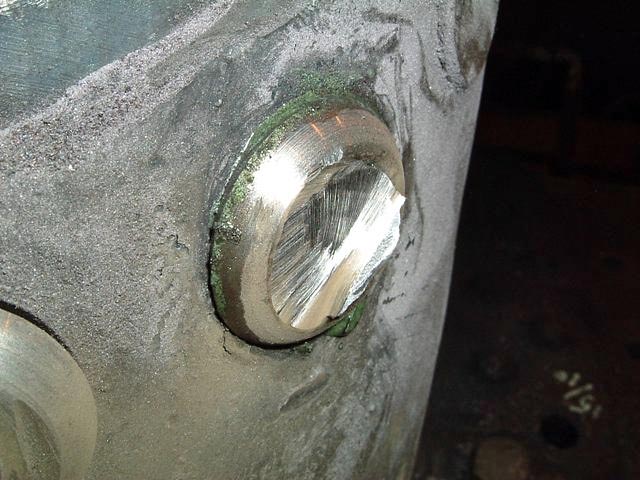
With the screw fully tightened the hexagon can be removed. News update February 2007Further work to the foundation ring has been carried out.
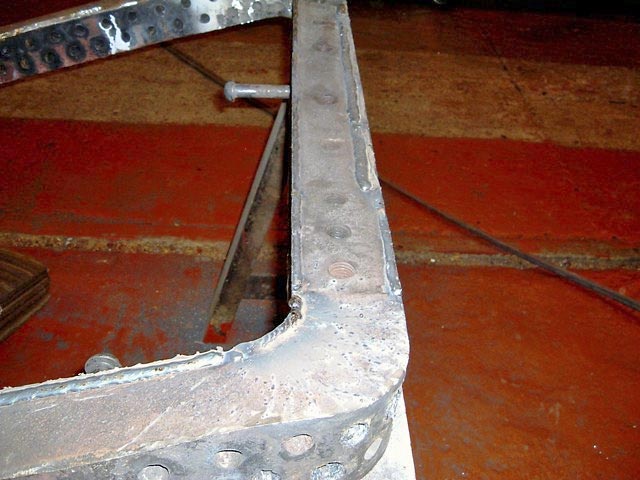
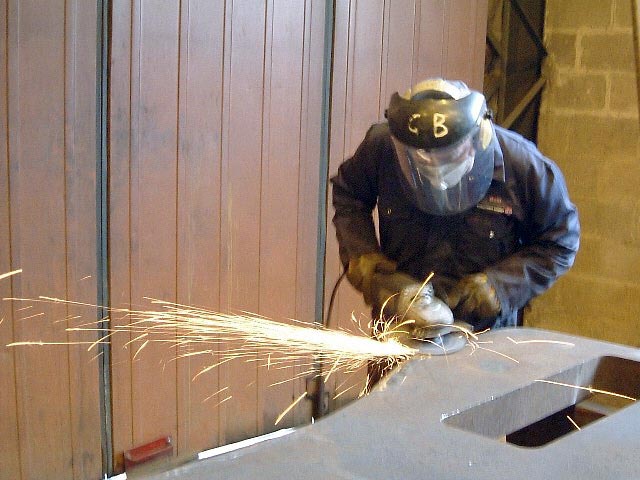
Having completed weld repairs to the corners, work has now been done to restore the edges of the underside of the foundation ring. This will provide a clean edge to facilitate caulking. This view shows fresh beads of weld on the edges. The welds are then ground back to create a square edge.
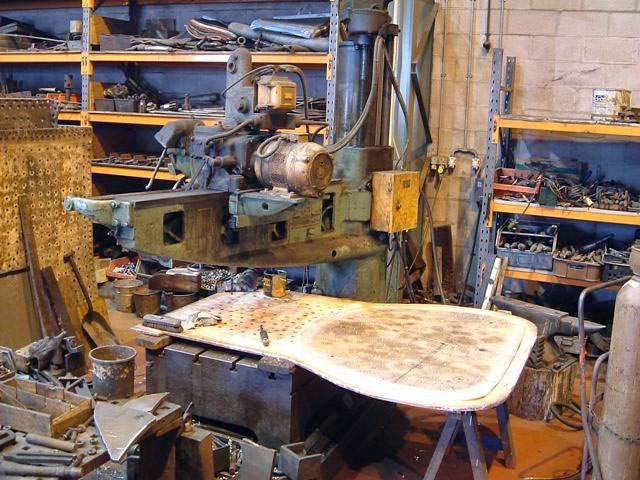
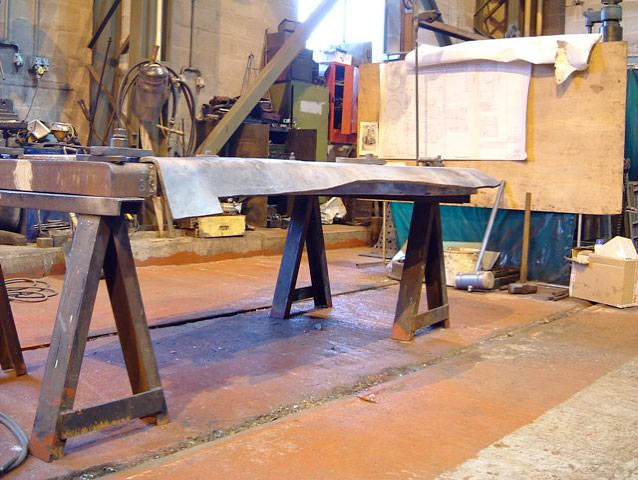
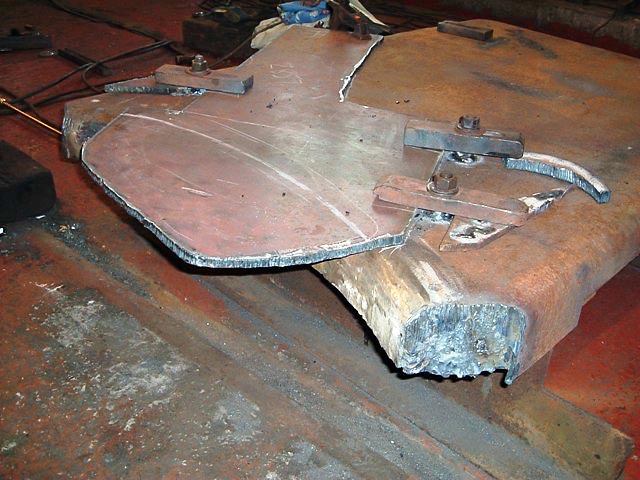
Close up of the foundation ring showing completed edge. In the meantime other work has included modification of a flanging block originally made for 42968. This has involved building up some areas with additional steel and trimming back other parts to suit our tube plate. The following sequence of photos illustrates to the scope of work involved.
Overall view of the block with addition steel in place.
Close up of area of build up.
Once new steel had been welded on and cut back to rough shape with the oxy acetylene cutter, many hours of grinding followed.
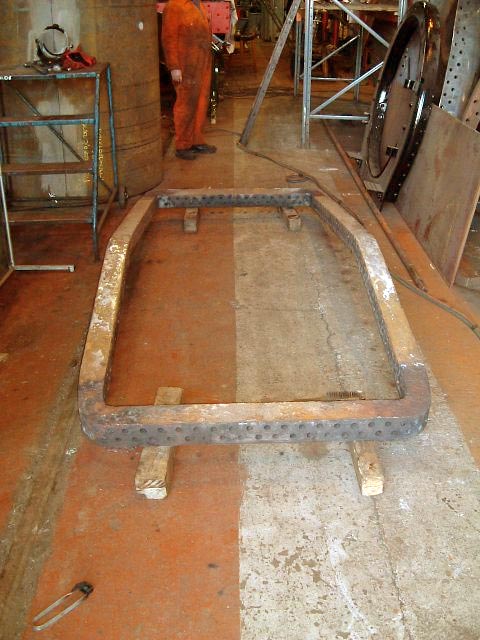
Finished at last. News update - Jan 2007 - 2Repairs to the foundation ring have been continuing over the past few months:
The foundation ring shortly after removal from the boiler.
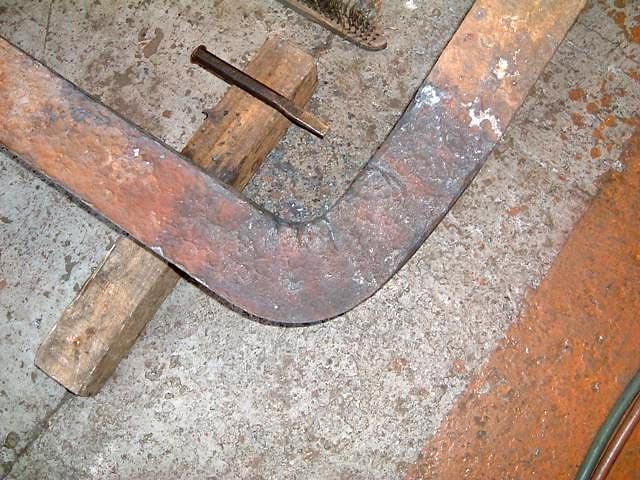
Cracking on one corner, this was typical of all four corners.
Grinding out cracks.
This view shows the extent of grinding needed to remove cracks from the foundation ring.
The areas of cracking have now been welded up.
News update - Jan 2007 - 1Throat plate repairs have been continuing over the past few months with:
Stay bushes being removed with the trusty oxyacetylene cutter.
Tapping stay bush holes. In the following views the boiler has been turned on its side.
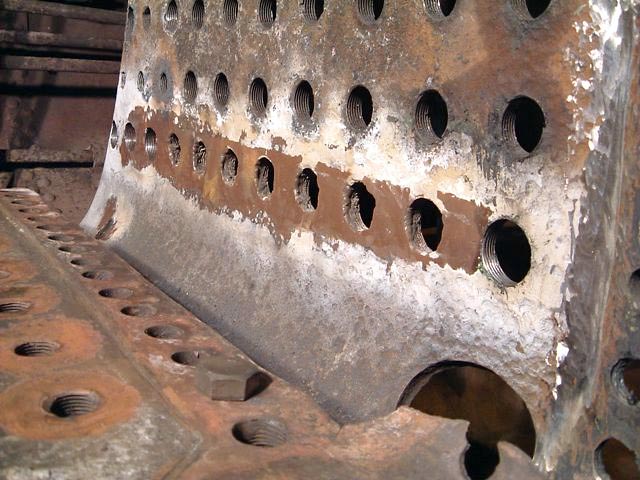
This view shows the area of welding to the outer row of stay holes.
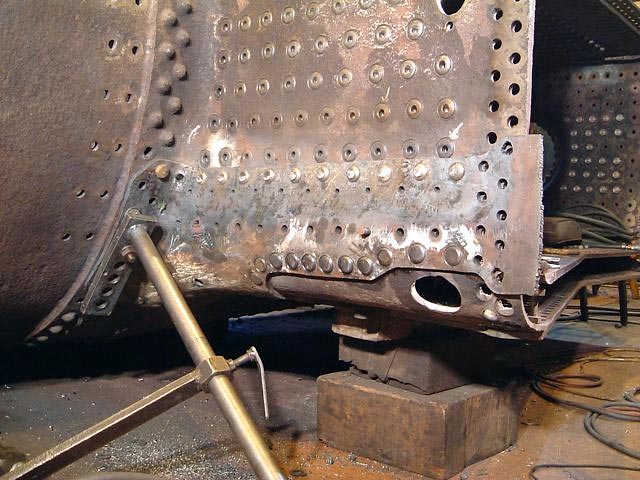
Grooving in the throat plate above the foundation ring.
The area of grooving has now been welded up.
New bush being fitted into the throat plate.
|
Website updates9th June 2008 6th June 2008 26th March 2008 6th February 2008 10th December 2007 25th October 2007 13th September 2007 25th July 2007 8th March 2007 15th January 2007 10th January 2007 21st September 11th September 25th August 17th July 20th April 2006 |


© 2857 Society 2007-2009